Using the TinyMCE Editor for Contents

At the top of the editor are the seven drop downs described below with each bullet point/subheading describing an option from a dropdown:
File
- New document – clears any content you have written in the editor
- Print – prints the content
Edit
- Standard editing tools contained within the edit dropdown: undo, redo, cut, copy, paste, paste as text, select all
- Find and replace - use to find or replace multiple instances of a word or phrase used in the content.
Insert
Image
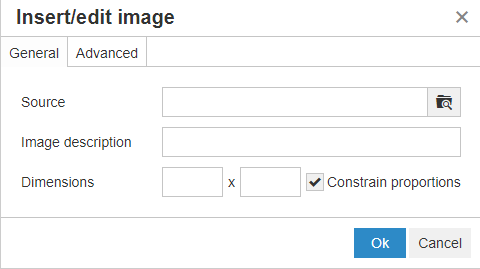
The image option within the insert dropdown is used to insert an image into your email. Clicking image will open the insert/edit image popup window which is made up of two sections; general and advanced. In the general section in the ‘Source’ box click the folder icon.
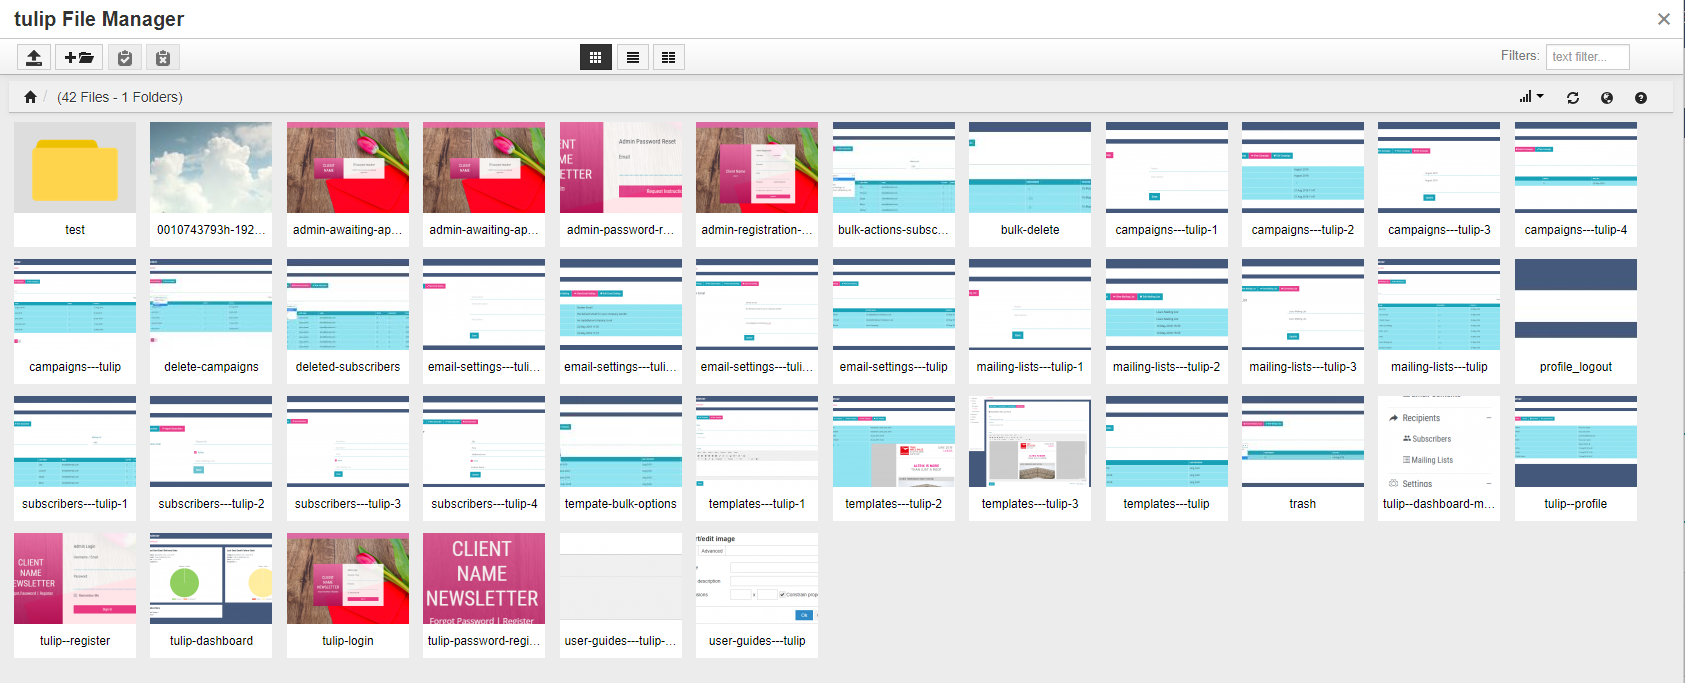
This will open the tulip file manager. The file manager popup shows all existing media added to the site. There are four icons along the top left of the window allowing you to upload a new image, add a new folder, copy from your clip board and clear your clip board.
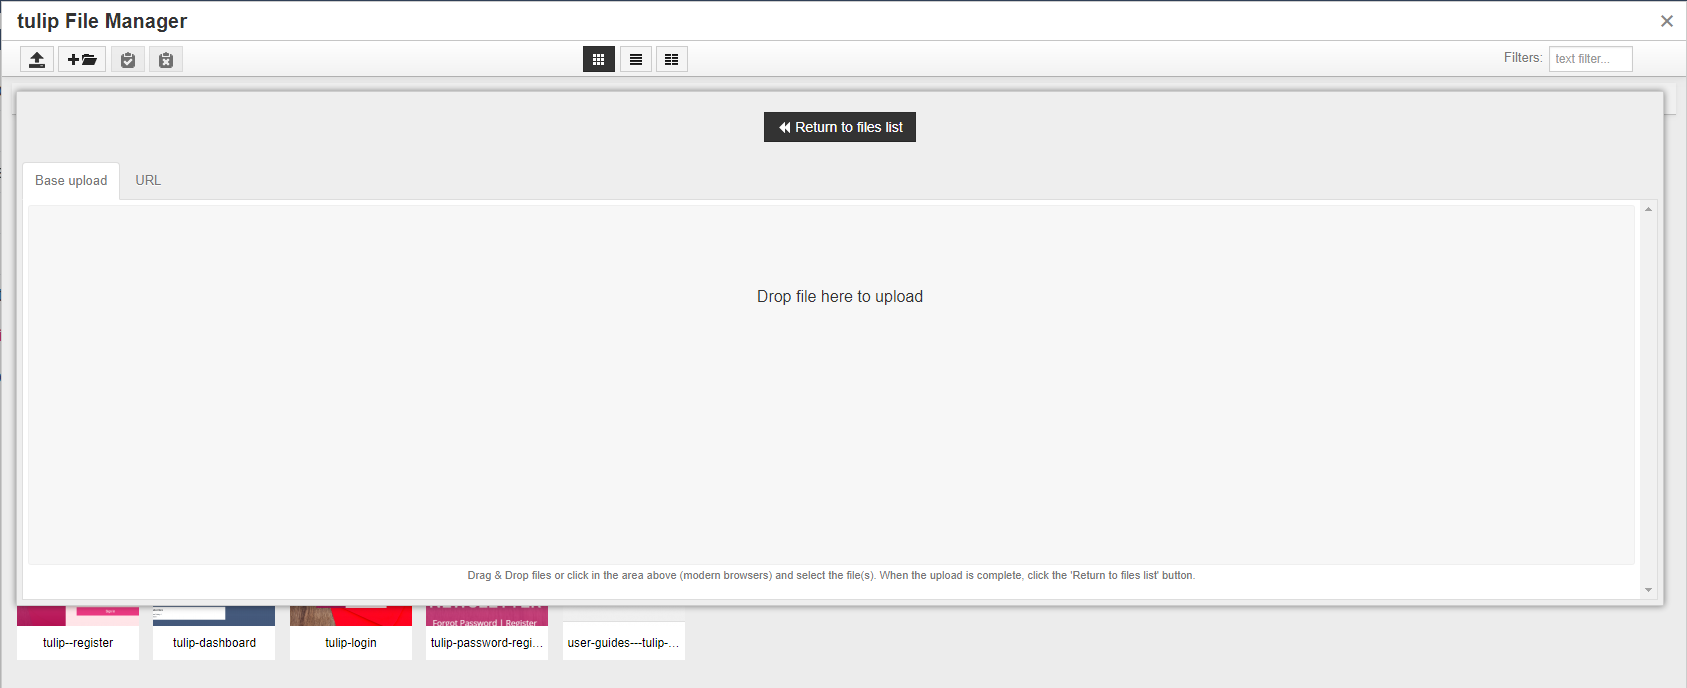
To upload new images, click the upload new image icon and click and drag your chosen image into the window.
Return to the files list and click the image you wish to add to the content. Clicking on the image once it is in the content will open various options to edit the image dimensions, CSS styles etc.
Link
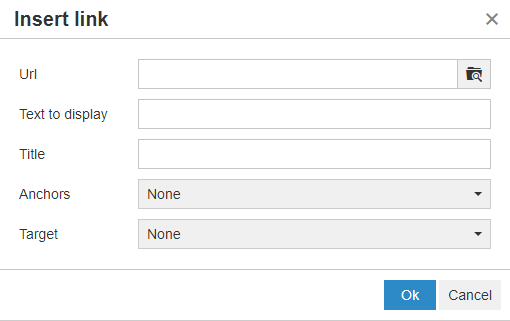
To create a new link, highlight the link text and click the new link icon or link in the insert dropdown. If you are linking to a webpage add the URL you are linking to and if you wish the link to open the page in a new browser tab use the ‘target’ dropdown and select ‘new window’. If you are linking to an anchor tag leave the URL field blank, select the desired anchor (see Anchor for more information) and leave the target as none.
Special Character
Used to insert a special character.
Anchor
To add links that allow the user to jump to a certain point in the content you must first create an anchor tag on the section you wish to link to in the email content. Highlight the text you wish to make an anchor and click the anchor button or the anchor option in the insert dropdown. This will open a pop-up window where you can name the anchor tag. Avoid using spaces anywhere in the name or numbers at the start. Once you have done this click ok and the anchor will be available to link to in the link section (see Link for more details). Please note the link just used is an anchor.
Horizontal Line
Insert a horizontal line across the width of the email content
Non Breakable Space
Click to insert white space
Template
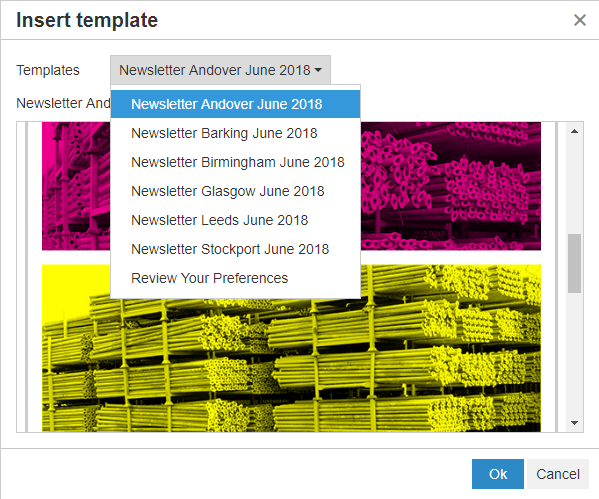
Use this to insert an existing template which can be edited in this window to create new content. Clicking ‘template’ will open the insert template popup, select the template you wish to insert from the templates dropdown and click ok. The inserted template can then be edited in the same way as other text, images and tables.
View
- Visual aids – turn off or on the outlines around tables and cells
- Preview - click to open preview
- Full screen – click to view the content in full screen
Format
- Standard formatting options: bold, italic, underline, strikethrough, super script and subscript
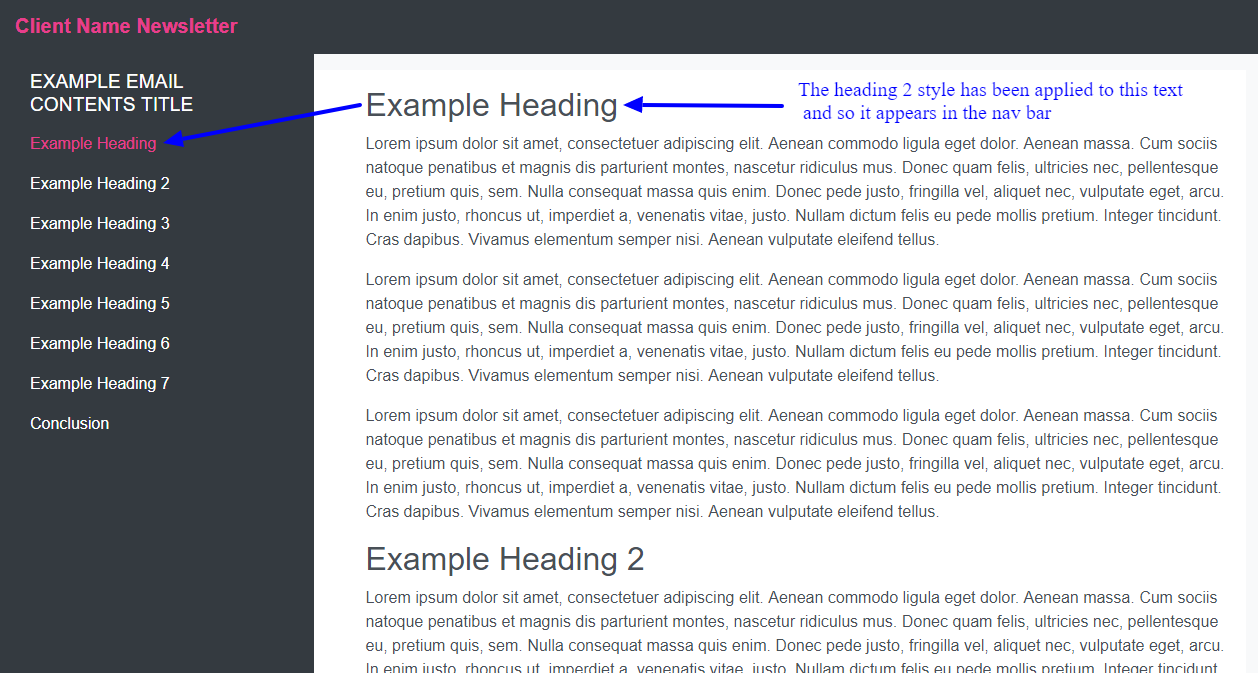
- Formats – The formats option shows different heading and paragraph styles that can be selected and used in the content. It is useful to remember that heading two can be used to add the menu items in the left hand nav bar. Any text with given heading two will appear here.
- Clear formatting – highlight text and select this to remove any formatting
Table
- Table – Add a table to hold your email contents
- Table properties – This popup contains a general section allowing control over table width, height, cell spacing, cell padding, border, caption and alignment. The popup also contains an advanced section allowing CSS styles to be added and border and background colour to be changed
- Delete table
- Cell – contains various cell options very similar to the table properties popup
- Row – contains various row options very similar to the table properties popup
- Column – contains various column options very similar to the table properties popup
Tools
- Source code – use this tool to format more complex HTML emails. The source code link will open the source code popup window. Here the HTML making up the email is located. This can be edited from this window and full sections of HTML copied and pasted in. When using just custom html to build the email content the code must begin from the first <table> tag of your HTML as header information is automatically added by the system.
Icon Shortcuts
Below these seven dropdowns are some icon shortcuts for tools contained in the dropdowns:
- Decrease indent
- Increase indent
- Align text left
- Align text centre
- Align text right
- Justify text
- Insert/edit link
- Remove link
- Anchor
- Insert/edit image
- Bullet list
- Numbered list
- Full screen
- Undo
- Redo
- Bold
- Italic
- Underline
- Paragraph
- Font
- Font size
- Text colour
- Background colour